PlymouthCreate and ePorts
Creating Your ePort (Beginner)
Colab Student Affiliates
Getting started with your ePort means first getting an account on Plymouth Create (and choosing a domain/URL for your account) and installing WordPress (the Web application you’ll be using to build your site).
Choose a Domain/URL
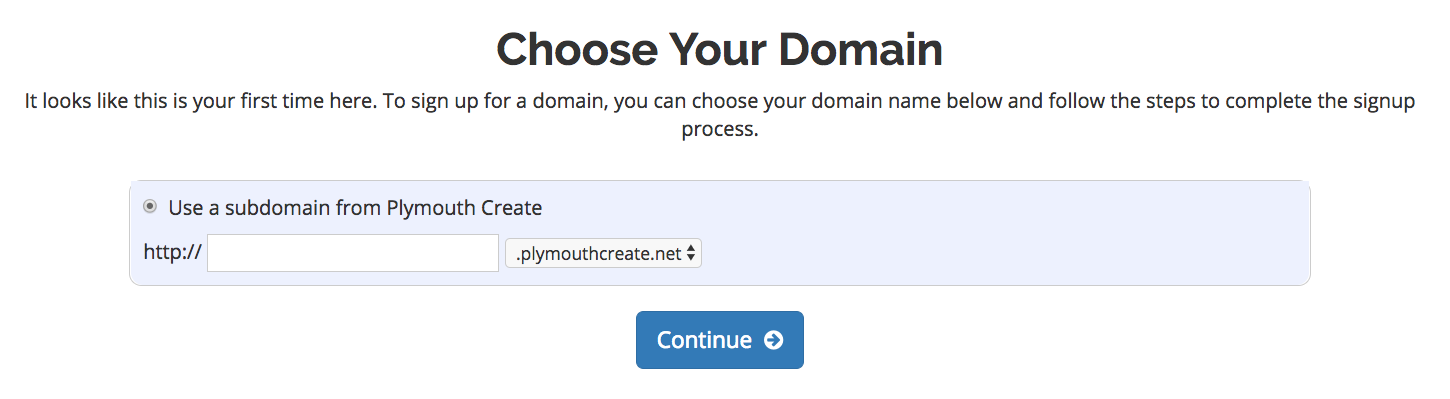
Choosing your domain name is the first step in getting started with staking your claim on the web. Your domain name is a unique Web address (e.g. yourname.plymouthcreate.net) that can be used to build out your own digital presence. As you make your choice, there are a few considerations to keep in mind:
Your Domain Name Must Be Available: Domain names must be unique, which means in order for you to claim your own, you need to be sure that it is currently available (and not being used by any one else at PSU). There are lots of tools to check on domain availability, and when you sign up on plymouthcreate.net, we’ll actually check the availability of your choice for you. All PlymouthCreate domains contain “.plymouthcreate.net,” but when you leave PSU, you can migrate your website to another hosting account or company.
Choose a Domain You Can Live With: You should choose a domain name that you feel you can live with for quite some time. You should pick something that you won’t find embarrassing in the future. A good rule of thumb is to pick a domain that you would be comfortable putting on a future job application.
You May Wish to Include Your Name in Your Domain: There is no requirement that your domain reflect your specific identity in the form of your first and last name. However, choosing a domain name that includes your name may make it easier for you to achieve higher rankings in search engines when someone queries your real name.
Pick a Domain you Like: At the end of the day, your domain should reflect you. Pick a domain you like and are proud of. It can reflect your interests, sports you play, or your hobby. Or it could just be your name. The “right” domain for you is the one you’re comfortable with.
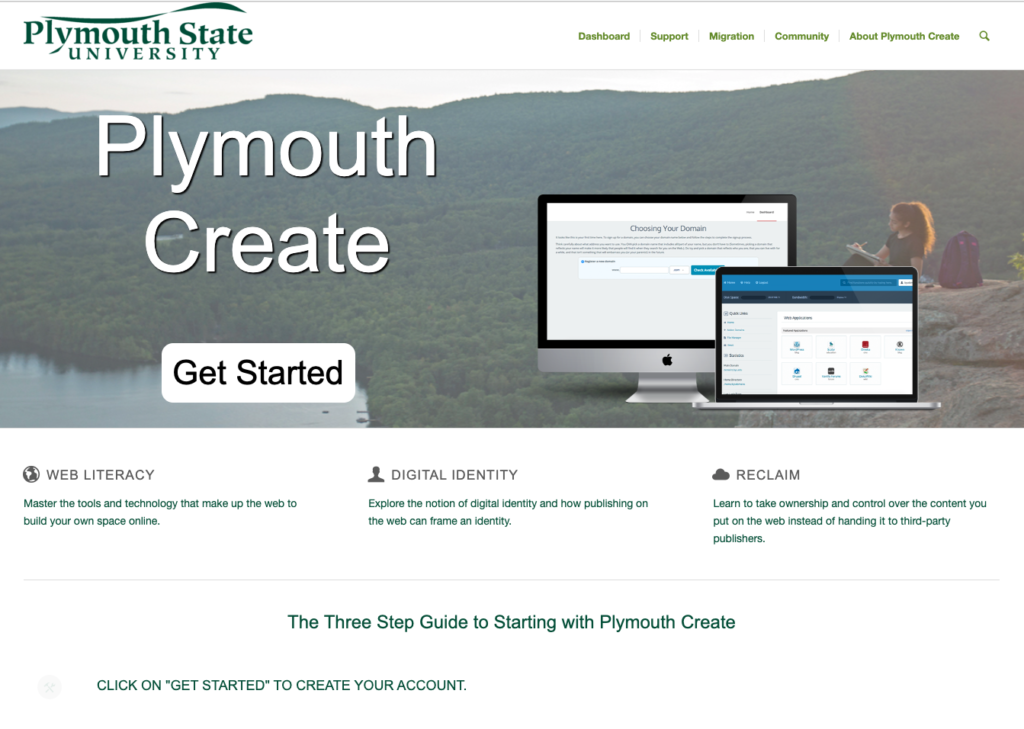
Setting Up Your PlymouthCreate Account & Domain
- Navigate to www.plymouthcreate.net and click on the Get Started button.
- Login using your Plymouth State University username and password (single sign-on)

- Enter the domain name of your choice. (See above!)

- On the Review page, ensure your contact information and domain are correct. Then click Sign Up.

- You will be redirected to your cPanel (Control Panel).

Installing WordPress on your PlymouthCreate Account & Domain
The next step is installing WordPress, the CMS (Content Management System) that can be used for managing your website. WordPress is the most commonly used CMS in the world, so it has an enormous amount of support and digital documentation on the web. You can also find PSU-specific documentation at plymouthcreate.net/support/
- Click on the WordPress link in the Applications section of cPanel.

- Create a new instance of WordPress by clicking the + Install this application button.

- In the installation details, change the username and password (don’t forget to remember these!) the site title, and tagline (you can change all of these except the username later). Then scroll down and click Install.

- Wait for the installation to complete.

- Bookmark the links. The first is your public URL that you’ll share with others; the second (ending in “wp-admin”) is the link to your site’s Dashboard (where you can add content, change settings, pick a theme, etc.)

Now you have your own PlymouthCreate account, domain, and WordPress site!
